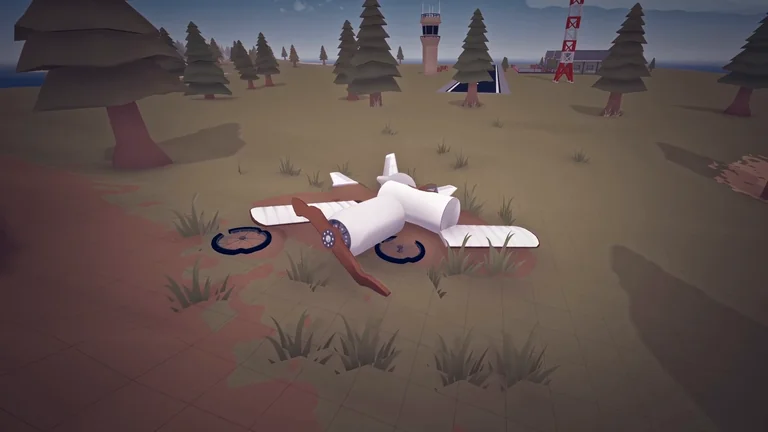
Aviassembly Progression Guide: Quests, Continents, and Campaign Loop
Complete progression guide for Aviassembly covering the career loop, continent unlock order, refueling, difficulty multipliers, and endless quests.

This Aviassembly guide maps out the entire campaign loop from your first flight to post-story endless deliveries. You build custom aircraft, haul cargo across an open archipelago, spend coins and scrap on stronger parts, and unlock new regions until you resolve the reactor crisis in the final zone.
Career Loop
Every campaign run follows a repeatable loop: assemble an aircraft, complete delivery quests at airports to earn coins and scrap, unlock better parts in the research tree, and expand your craft to reach more distant islands. In the game’s interface, standard research points are labeled scrap, while advanced research points unlock late-tier components. Parts that sit outside the research tree, or that list zero for both standard and advanced research costs, are already available from the start.
Coins pay for new parts in the workshop, while cargo capacity comes from summing the Cargo stat across every fuselage and cockpit on your aircraft. Each unit of loaded cargo adds its weight to the plane, so heavier hauls demand more lift and thrust. Beyond deliveries, you can pick up scrap canisters scattered across continents for 5 scrap each, or hover over the sea to load water and drop it on burning buildings for 25 coins per fire.
For deeper breakdowns of part physics and economy math, read the plane building guide and the research, scrap, and money guide. You can also inspect every component stat in the parts database or compare weights and payouts in the cargo database.
Starter Parts and Early Upgrades
Your opening hangar starts with basic wooden airframe components, including 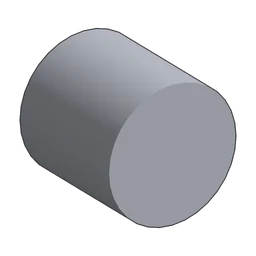 Body (Fuselage),
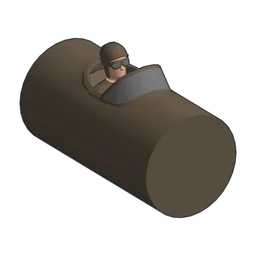 Biplane Cockpit (Biplane Cockpit),
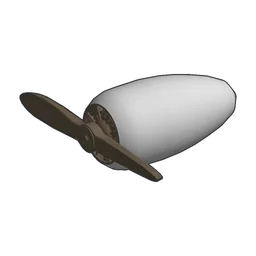 Wood Engine (Wood Engine),
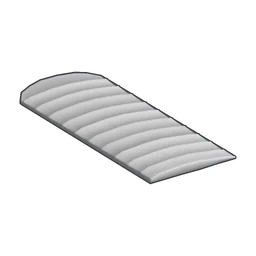 Biplane Wing (Biplane Wing),
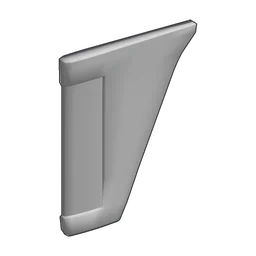 Tail Wing (Tail Wing),
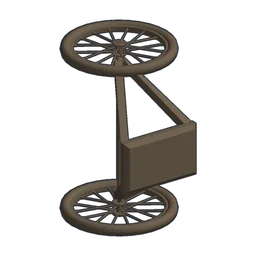 Bike Wheel (Bike Wheel), and
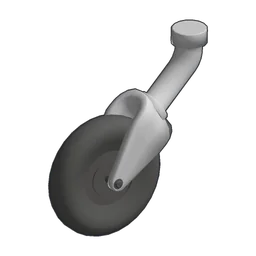 Small Rear Wheel (Small Rear Wheel). Even before adding dedicated tanks, every plane begins with 1 unit of fuel capacity by default.
| Part | Cargo | Thrust | Fuel Consumption | Electricity Generation | Optimal speed | Lift | Drag | Strength | Load Limit | Friction | Weight | Price | Research |
|---|---|---|---|---|---|---|---|---|---|---|---|---|---|
| Body | 10 | — | — | — | — | — | — | — | — | — | 1 | 50 | Start |
| Biplane Cockpit | 20 | — | — | — | — | — | — | — | — | — | 1.5 | 150 | Start |
| Wood Engine | — | 10 | 2 | 0.4 | 100 knots | — | — | — | — | — | 1.5 | 150 | Start |
| Biplane Wing | — | — | — | — | — | 21 | 21 | 2.25 | — | — | 0.5 | 75 | Start |
| Tail Wing | — | — | — | — | — | 2 | 6 | 6 | — | — | 0.33 | 15 | Start |
| Bike Wheel | — | — | — | — | — | — | — | — | 2 x 5 | 2 | 0.5 | 25 | Start |
| Small Rear Wheel | — | — | — | — | — | — | — | — | 6 | 1.5 | 0.2 | 25 | Start |
Combining the Fuselage (Cargo 10) with the Biplane Cockpit (Cargo 20) gives an early biplane room for local runs before you research larger cockpits and fuel tanks.
Continent Unlock Order
The campaign opens right after an earthquake rattles the starting island, prompting you to check nearby settlements and visit Weather Station to investigate. Flying straight into locked regions triggers restricted-zone warnings that tell you to finish Weather Station missions first, and later Research Facility missions before entering Desert.
Progressing across the map follows two key story gates before opening the final desert region:
- Spawn to Snow: At Weather Station, deliver 2
 Lumber and 1
 Wood Logs to reinforce the building; completing the task grants 25 advanced research points and sends you to the mountain research center.
- Snow to Desert: At Research Facility, deliver 2
 Ore, 5
 Ice, and 1
 Stone for 25 normal research points (8 on Hard) and 20 advanced research points, which reveals radioactive material in the soil and lifts the zoning restrictions on Desert.
- 1.
Earthquake
Deliver Relaxed Normal Hard Lumber×2260 225 195 Wood Logs×1165 140 120 Research points:Normal: 0Hard: 0Advanced RP: 25
- 1.
Earthquake
Deliver Relaxed Normal Hard Ore×2210 180 155 Ice×5490 425 360 Stone×1955 830 705 Research points:Normal: 25Hard: 8Advanced RP: 20
- 1.
The Meltdown
Deliver Relaxed Normal Hard Titanium×1
225 195 165 Lead×1
275 240 205 Research points:Normal: 30Hard: 10 - 2.
The Meltdown
Deliver Relaxed Normal Hard Titanium×2445 390 330 Lead×2550 480 405 Water×30
1,150 1,000 850 Research points:Normal: 60Hard: 20 - 3.
The Explosion
Deliver:Radioactive Waste×1
Relaxed Normal Hard 1,090 950 810 Research points:Normal: 75Hard: 25Advanced RP: 50
Between those story milestones, side islands such as Seaport (home to Cargo terminal and Shipwreck), Hermit, and Prison offer extra contracts and rescues. Each continent also spawns a fixed number of randomized scrap pickups at unfixed positions, up to its scrap pickup limit.
| Continent | Temperature | Scrap | Notable airports |
|---|---|---|---|
| Spawn | 22 | 5 | Weather Station, The Hospital |
| Seaport | 0 | 2 | Cargo terminal, Shipwreck |
| Snow | -40 | 5 | Research Facility, Fishing Port |
| Hermit | 0 | 0 | Hermit |
| Prison | 0 | 0 | Prison |
| Desert | 60 | 5 | Power Plant, Waste Storage |
Check the desert unlock walkthrough for step-by-step cargo totals, or browse every contract chain in the all missions guide. To view coordinates and prices across every landing site, open the airports directory and the interactive world map.
Refueling and Range
Landing at an airport with refueling service restores both fuel and electricity to capacity without charging any coins. Total fuel capacity equals 1 plus the Fuel value of every fuel tank and fuel-carrying wing installed, and each flight launches with full tanks. Fuel adds 0.4 weight per unit, which decreases in flight as engines burn through the supply.
Most landing sites support refueling, except two airports where fuel service is unavailable: Shipwreck in Seaport and DawnBreaker offshore in Snow. The other offshore ship landing sites—OilTanker, WaveRider, and IronSail—all permit refueling. Plan return fuel carefully before flying to either non-refueling site, and read the fuel and refuel guide for tank sizing tips.
Difficulty Modes
Campaign difficulty adjusts coin payouts, scrap income, cargo hazards, and propeller durability across three modes. Achievements remain enabled on Relaxed, Normal, and Hard, and are disabled only when playing in Sandbox or creative mode.
| Mode | Money | Research | Timers and fragility | Propeller terrain damage |
|---|---|---|---|---|
| Relaxed Mode | 1.15× | 1.00× | Disabled | Off |
| Standard Mode | 1.00× | 1.00× | Active | Off |
| Hard Mode | 0.85× | 0.33× | Active | Breaks on impact |
In Relaxed Mode, expiring cargo timers never start and fragile items survive hard landings without breaking. Standard Mode keeps full cargo timers and impact breakage while leaving propellers intact on terrain contact. Hard Mode cuts quest coin payouts to 0.85× and research points to 0.33×, so you cannot unlock every part and must choose upgrades selectively while avoiding ground strikes with propellers or rotors. Creative mode also provides an infinite fuel option that burns nothing in flight.
See the hard mode and relaxed mode comparison for detailed planning advice.
Beating the Campaign and Endless Quests
Investigation in Desert reveals that the earthquake originated from a reactor explosion at Power Plant rather than a natural tremor. Completing every quest at Waste Storage (called Underground Storage internally) beats the campaign and unlocks the story completion achievement.
The Waste Storage chain has three stages:
- Stage one: Deliver 1 Titanium and 1 Lead to earn 30 normal research points (10 on Hard).
- Stage two: Deliver 2 Titanium, 2 Lead, and 30 Water to earn 60 normal research points (20 on Hard).
- Stage three: Transport 1 Radioactive Waste, which weighs 65 and requires 750 cargo space, for 75 normal research points (25 on Hard), 50 advanced research points, and 950 coins on Normal (1,090 on Relaxed or 810 on Hard).
Once the campaign ends, random quests unlock across every airport whose story chain is finished so you can continue flying deliveries indefinitely. Generated endless payouts round to the nearest 5 from a midpoint blend between the destination’s cargo price and a weight formula (weight × 8, or weight × 20 for expiring cargo), scaled by amount^0.7. Players aiming for full completion can also pursue the completionist achievement by finishing every quest at every airport.
Read the campaign finale walkthrough before building a heavy hauler for the final shipment.
Controls, Platforms, and Saves
Aviassembly runs on 64-bit Windows and lists Steam Deck and SteamOS compatibility (category 2) alongside its desktop build. Alongside mouse and keyboard, the game supports controllers and HOTAS joysticks with separate per-device keybindings for engines, rotators, and decouplers. Steam Cloud saves automatically sync career save files across devices.
For keybindings, platform availability, and file paths, check the keyboard and controller guide, the platforms guide, and the save file location guide.